- Bike 411
- September 5, 2023
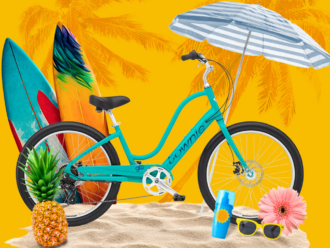
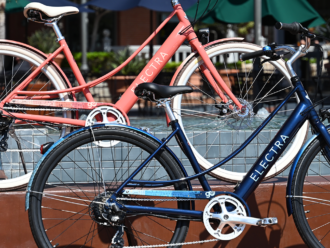
- Electra Bicycle Company
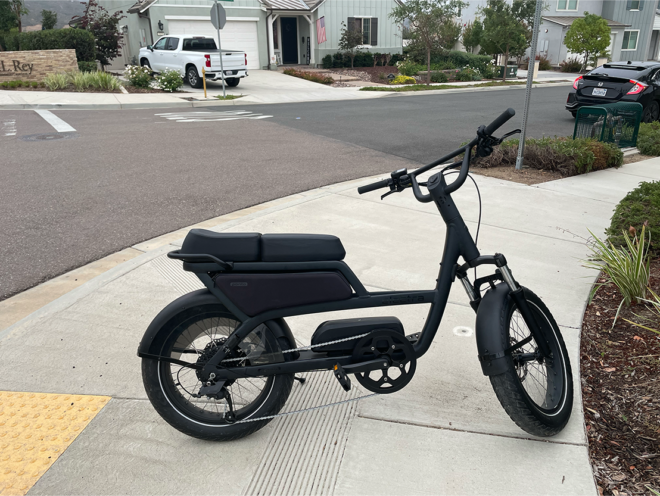
Ponto Go! Range Test: Results Will Be Awesome
The Baseline
To give a little bit of perspective, here are the nitty gritty details of my ride.

The Rider
- Name: Ben
- Height: 5’9”
- Weight: 175 lbs
- Random fact: Afraid of sushi
The Bike:
- Model: Ponto Go! Black Hole
- Power: Throttle / Pedal-assist
- Max Speed: 20mph (throttle) / 26mph (pedal-assist)
- Estimated range: 30-60 miles
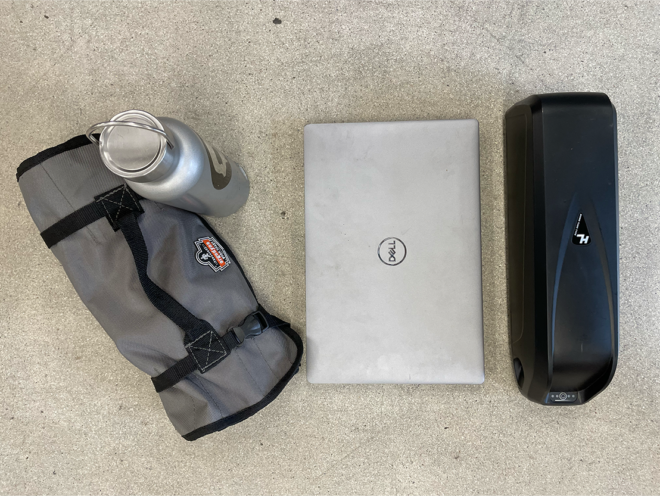
The Cargo:
- Ponto Go! Frame Bag with a spare battery
- Backpack with a change of clothes, lunchbox, and laptop.
- NOTE: The Ponto Go! has a max carrying capacity of 360lbs. Add up my body weight and the cargo, I would estimate my total weight was close to 200 lbs.
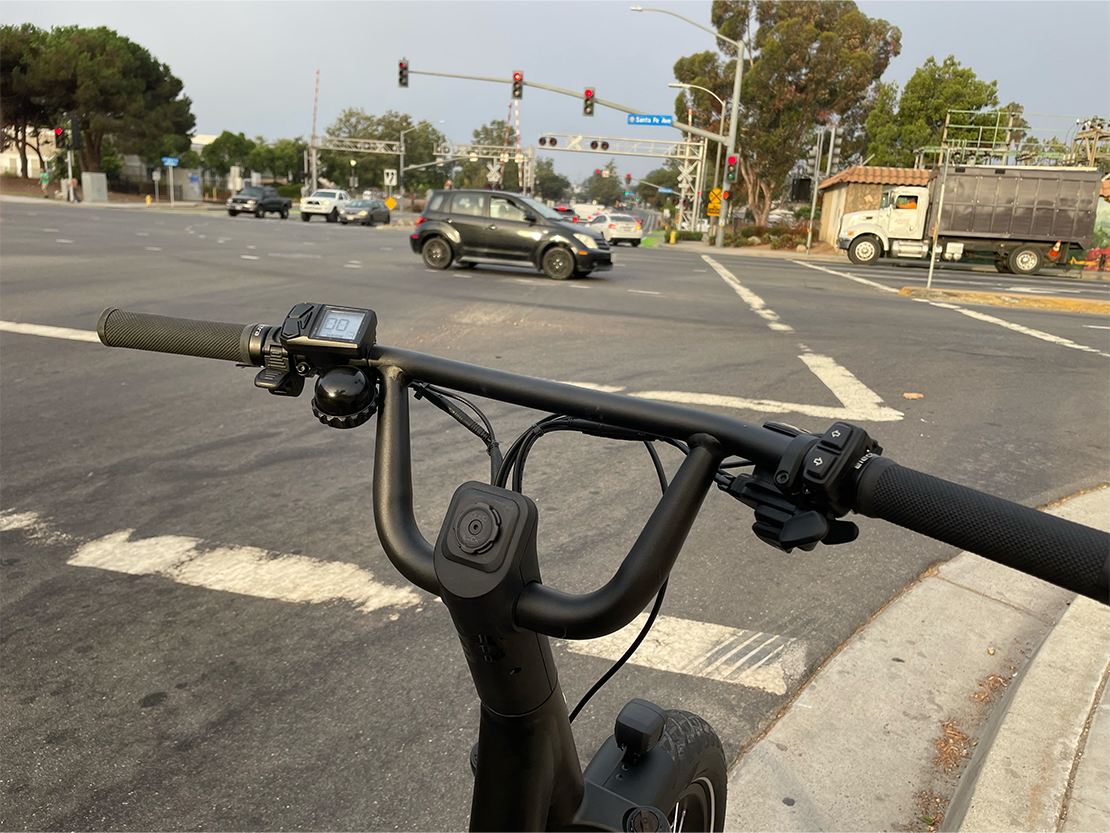
The Route:
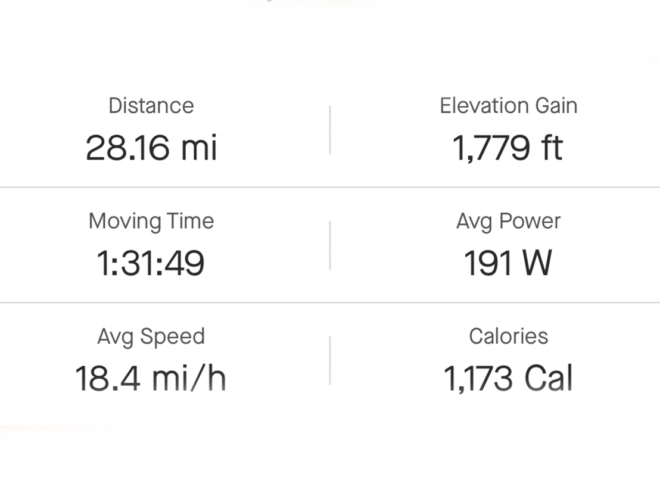
- I left my home at 6:30am on a Wednesday morning and arrived at Electra HQ by 8:00am, just in time for the first meeting of the day. Ignore the calories and average power metric. I wasn’t pedaling very much but Strava was tracking it by default.
Goals of the Ride
This ride was about more than just riding from point A to point B on a Ponto Go!
- Goal 1 (Distance): See how far away point B could be from point A.
- Goal 2 (Speed): Get from point A to point B as quickly as possible using the throttle as much as possible.
- Goal 3 (Comfort): Get from point A to point B as easily as possible.
As a commuter, I want to be able to get to the office quickly and easily. I’ve done this ride on other bikes but have always been quite sweaty and tired by the time I got to the office. The last thing anyone wants is you sitting in the bullpen with sweat running down your face. Using a Ponto! Go! is the solution to this problem.
Rules of the Ride
Here are the rules I followed in order to deliver a fair and honest assessment of the Ponto Go!’s performance.
- Rule 1: Use the throttle at all times, with the following exceptions:
- To start, I could use the pedal assistance mode but once I reached 10mph the throttle must be activated.
- When climbing a hill and the average speed drops below 17mph.
- Rule 2: Only ride on bike legal paths, lanes, etc.
The Strategy
- I made sure that my Ponto Go! had a full charge.
- Ensured that the tires were pumped up to the correct PSI to maximize their rolling potential.
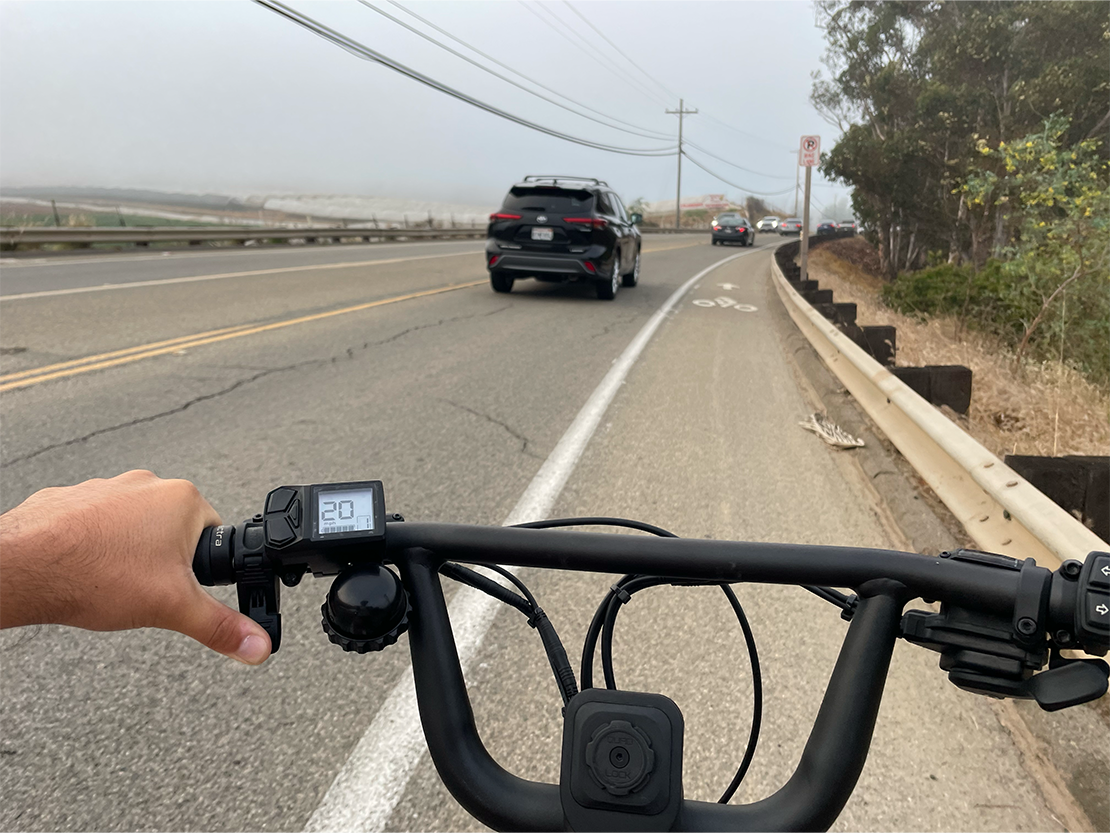
- I would only use the pedal-assist to start from a dead stop, like at a traffic stop. This allowed me to accelerate faster and, in theory, save some battery life. When I reached 10mph I switched over to throttle.
- I rode in in the highest support mode, 3, to make it as easy as possible for me. When I reached 20mph and the throttle support ended, I moved down into the 2nd and 1st support levels.
- When appropriate, I minimized braking to allow for my momentum to take me as far as it could.
- For safety, I kept my headlight on and made sure to use my turn signals when turning. I’m not sure how much battery this used, but it was worth it to be safe.
- Although my phone was almost dead, due to me forgetting to plug it in during the night, I didn’t use the charging function on the Ponto Go! to save more battery.
X-factors
There were so many factors that were at play during this test – some I couldn’t control and some I could. These are things that most riders would typically face during any ride.
- Climbing
- The most direct route for a ride might have 0, 1,000 feet of climbing, or more. Sure, there may be a route that does not involve any climbing but that might add distance. My route for this ride was the most direct and logical option. Although it added a considerable amount of climbing, it was still going to be the quickest option.
- Wind
- If there’s a tail wind you’re in luck. But. If you’re experiencing a nasty headwind, you’re going to have a slower start to your day. I had a slight headwind through the second half of the ride and felt the motor putting in a little bit more effort to maintain my top speed.
- Rider
- Just as body weight might affect the battery life, so can height. If you’re taller, you will be less aerodynamic. I am pretty average in the height department. However, I would find myself tucking low when descending to help keep my momentum going.
- Cargo
- I chose to carry a spare battery. Most likely this will not be the case for the average rider. In principle, the more weight you add to the bike the more work the motor has to do. So, if you’re looking to maximize your range, consider only taking the essentials with you.
- Traffic
- During the ride I was fortunate enough to have a bike lane for much of the ride. However, I did slow down at times when encountering heavy traffic.
Thoughts and Reactions
While I didn’t completely kill the battery, I did manage to get it down to the last 5-10%. I bet that I could get another 2-3 miles before it fully died. It’s good to note that in the last 10% of the battery, the power is reduced slightly to help increase the range. Overall, I was still super happy with the end result given how fast my average speed was.
My route was unique – it had a considerable amount of elevation gain for a commute. The route saw me climbing up and over a series of hills with a good amount of descending where I wasn’t using the motor. Does this mean the uphill efforts were negated by the downhill riding? It’s up for debate! I would have thought that on any hill I would have needed to use the pedal assistance to keep me at 20mph. I was wrong. There was only one, very steep hill that required me to pedal to maintain my speed.
Maintaining the top throttle-assisted speed of 20mph was a lot easier than I thought. I typically started in level 3, but once I reached 20mph I could set it into level 2 or 1, and it would sustain my speed perfectly. I can only surmise that this helped save battery during the ride.
What’s the moral of the story?
Range on an e-bike is always going to be subjective. At Electra, we like to give an estimated range to cover a wide array of situations. Is the range of my ride what you should expect when riding your own Ponto Go! around town? Maybe, but again it’s all dependent on your cargo, route, and environment. My ride represents one of thousands of rides that are possible on a Ponto Go!.
Regardless of your e-bike make, model or classification, here are some tips to maximize your range:
- When pedaling an e-bike, try to keep a consistent cadence
- Reduce the weight that you are carrying
- Reduce your overall riding stature
- Maintain your momentum on downhills leading into flats
- Plan a smart route
If you have done a range test on an Electra Go! e-bike, and want to share your experience, shoot us over a DM on Instagram and let’s chat about it!